

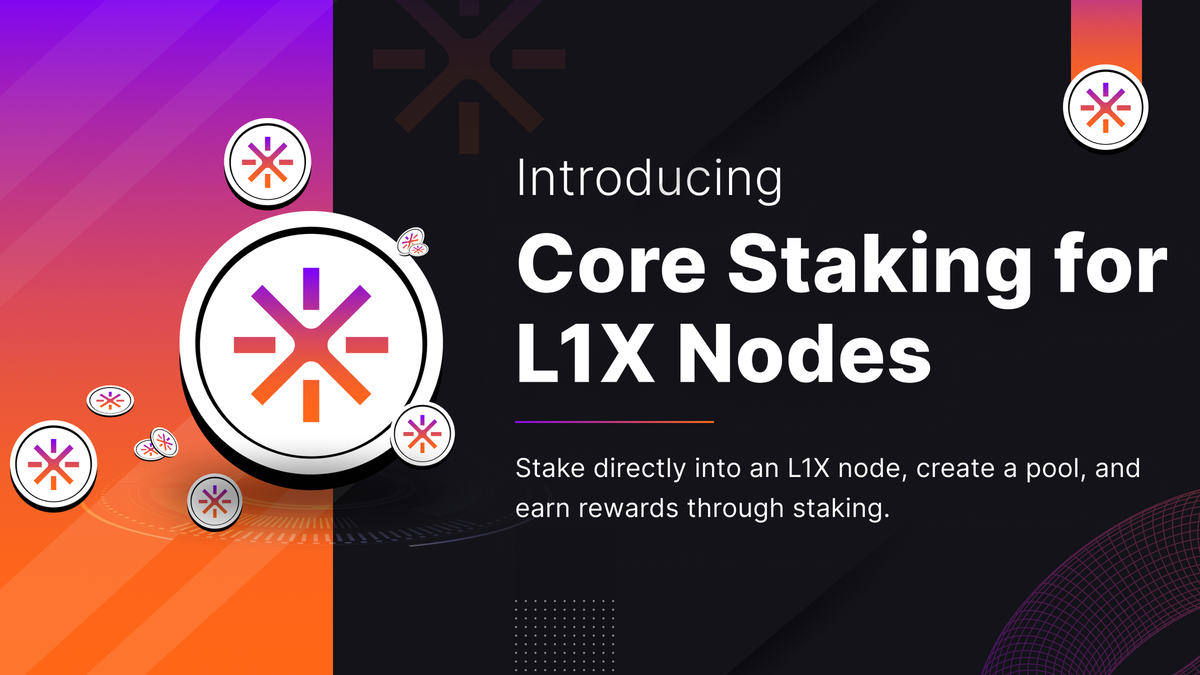
We are excited to introduce Core Staking into L1X Nodes! This feature allows you to stake directly into an L1X Node, create a pool, and earn rewards through staking. Follow the steps below to get started.
Step 1: Connect Your XWallet
Connect your XWallet to the L1XApp.
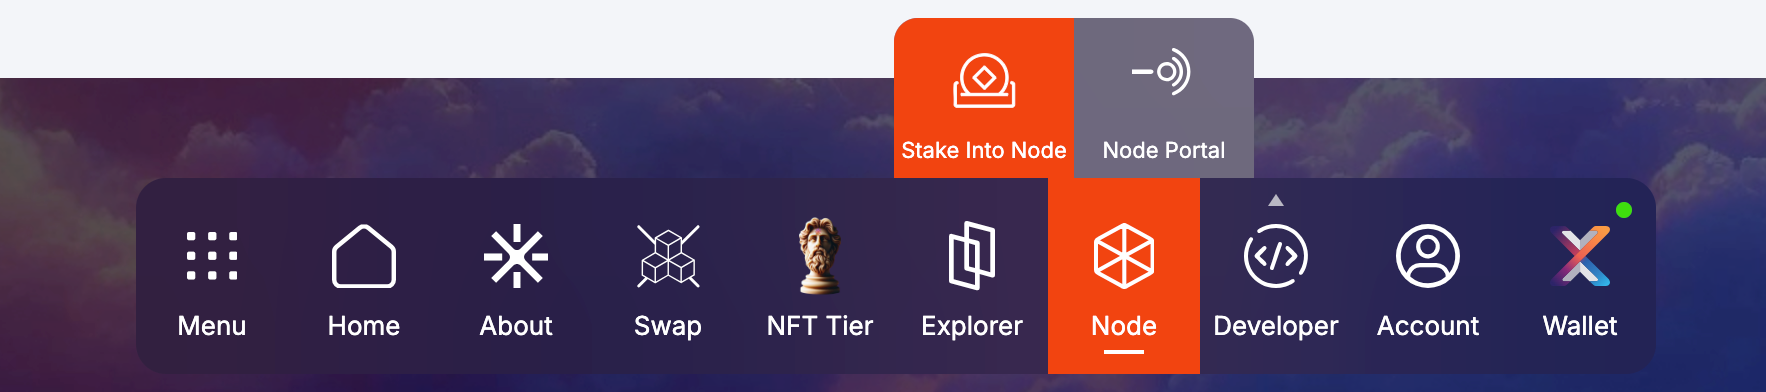
Step 2: Access the Node Portfolio
Navigate to the Node Portfolio tab in the L1XApp dock.
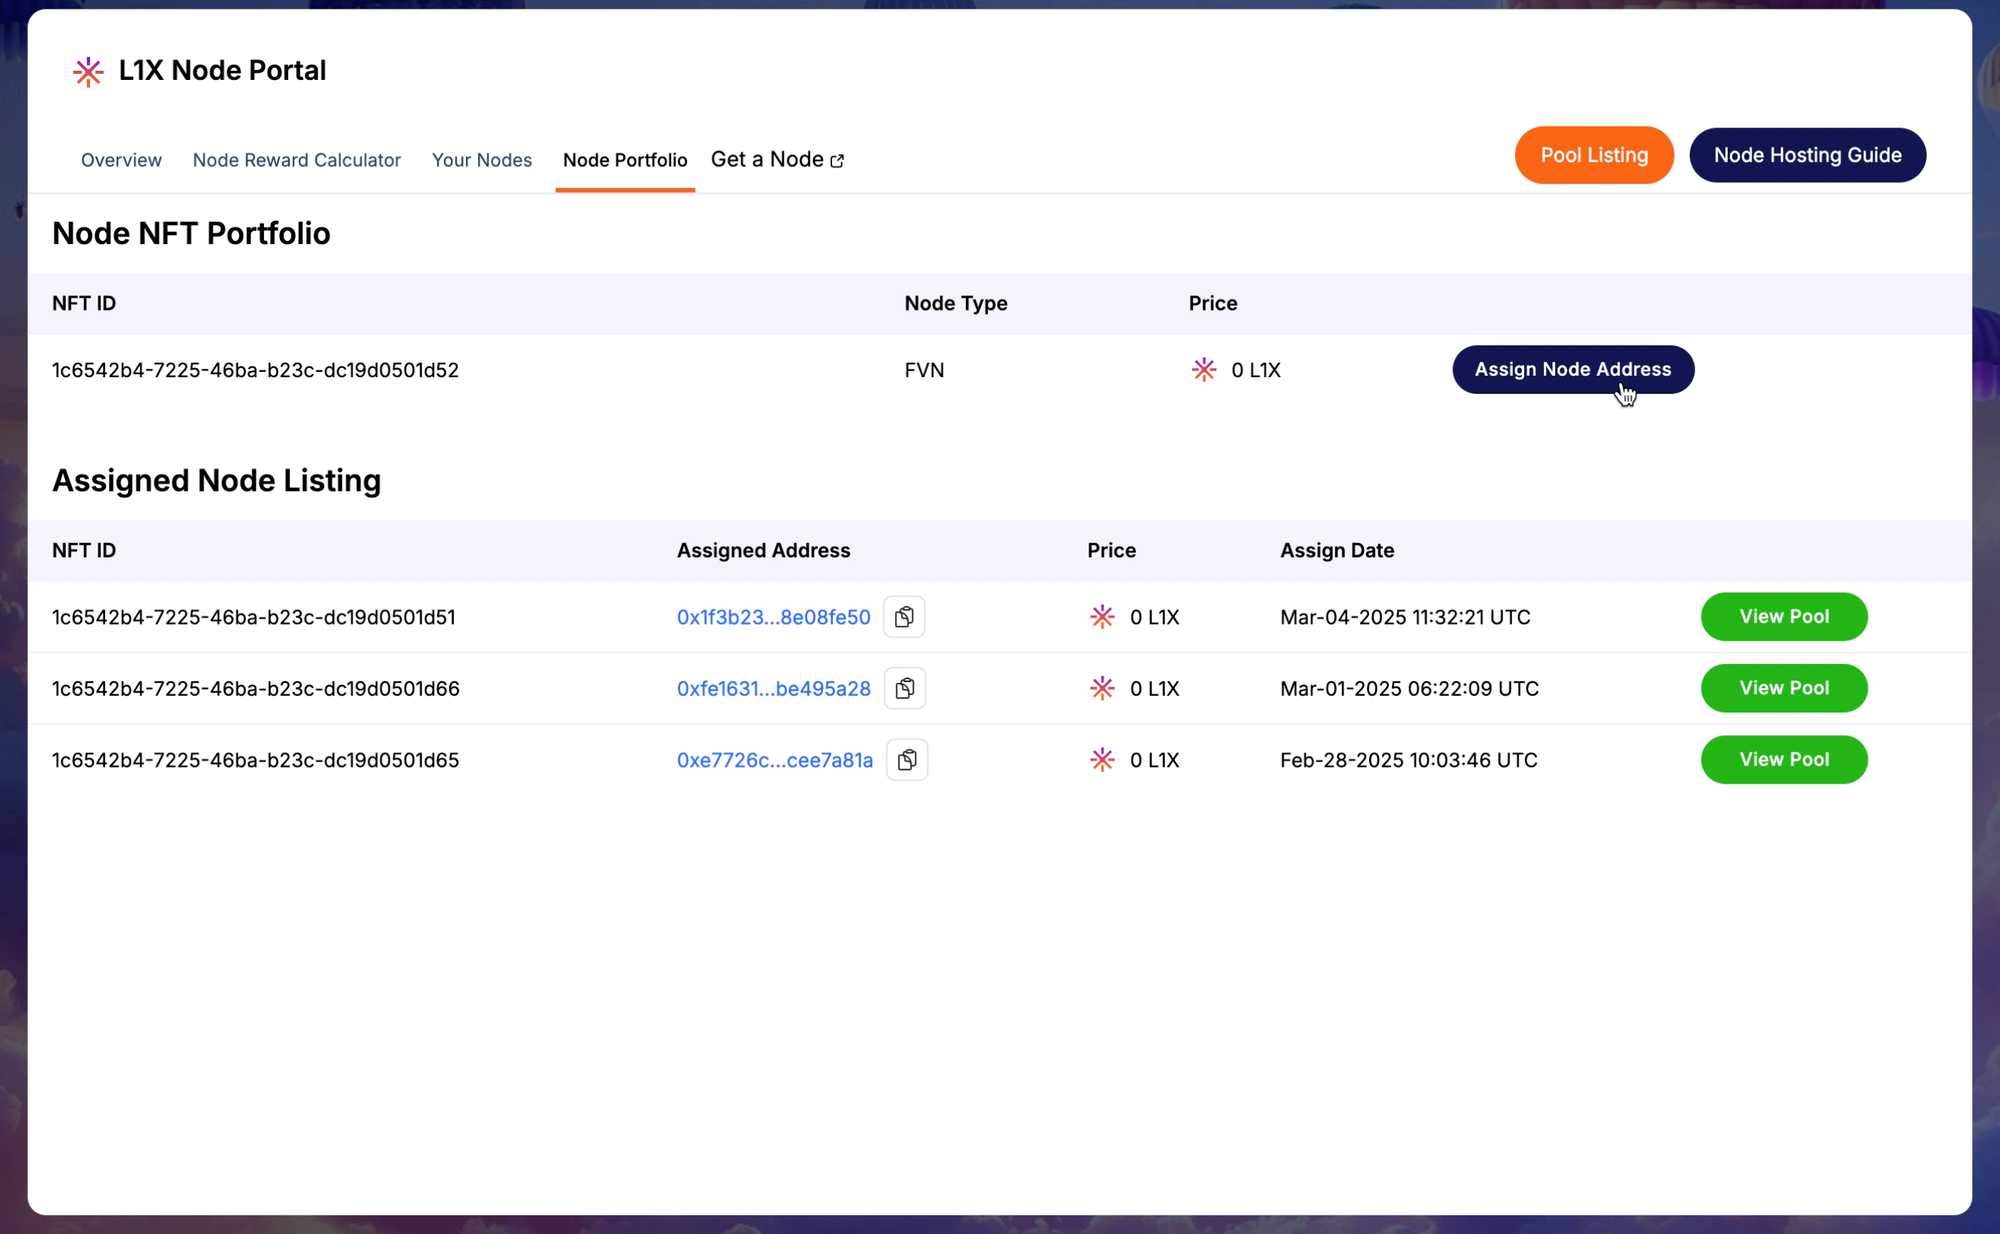
Step 3: Assign Your Node
Confirm your Node NFT ID and click on Assign Node Address.
Step 4: Enter Wallet Address
Paste the new wallet address where you would like the node to be assigned.
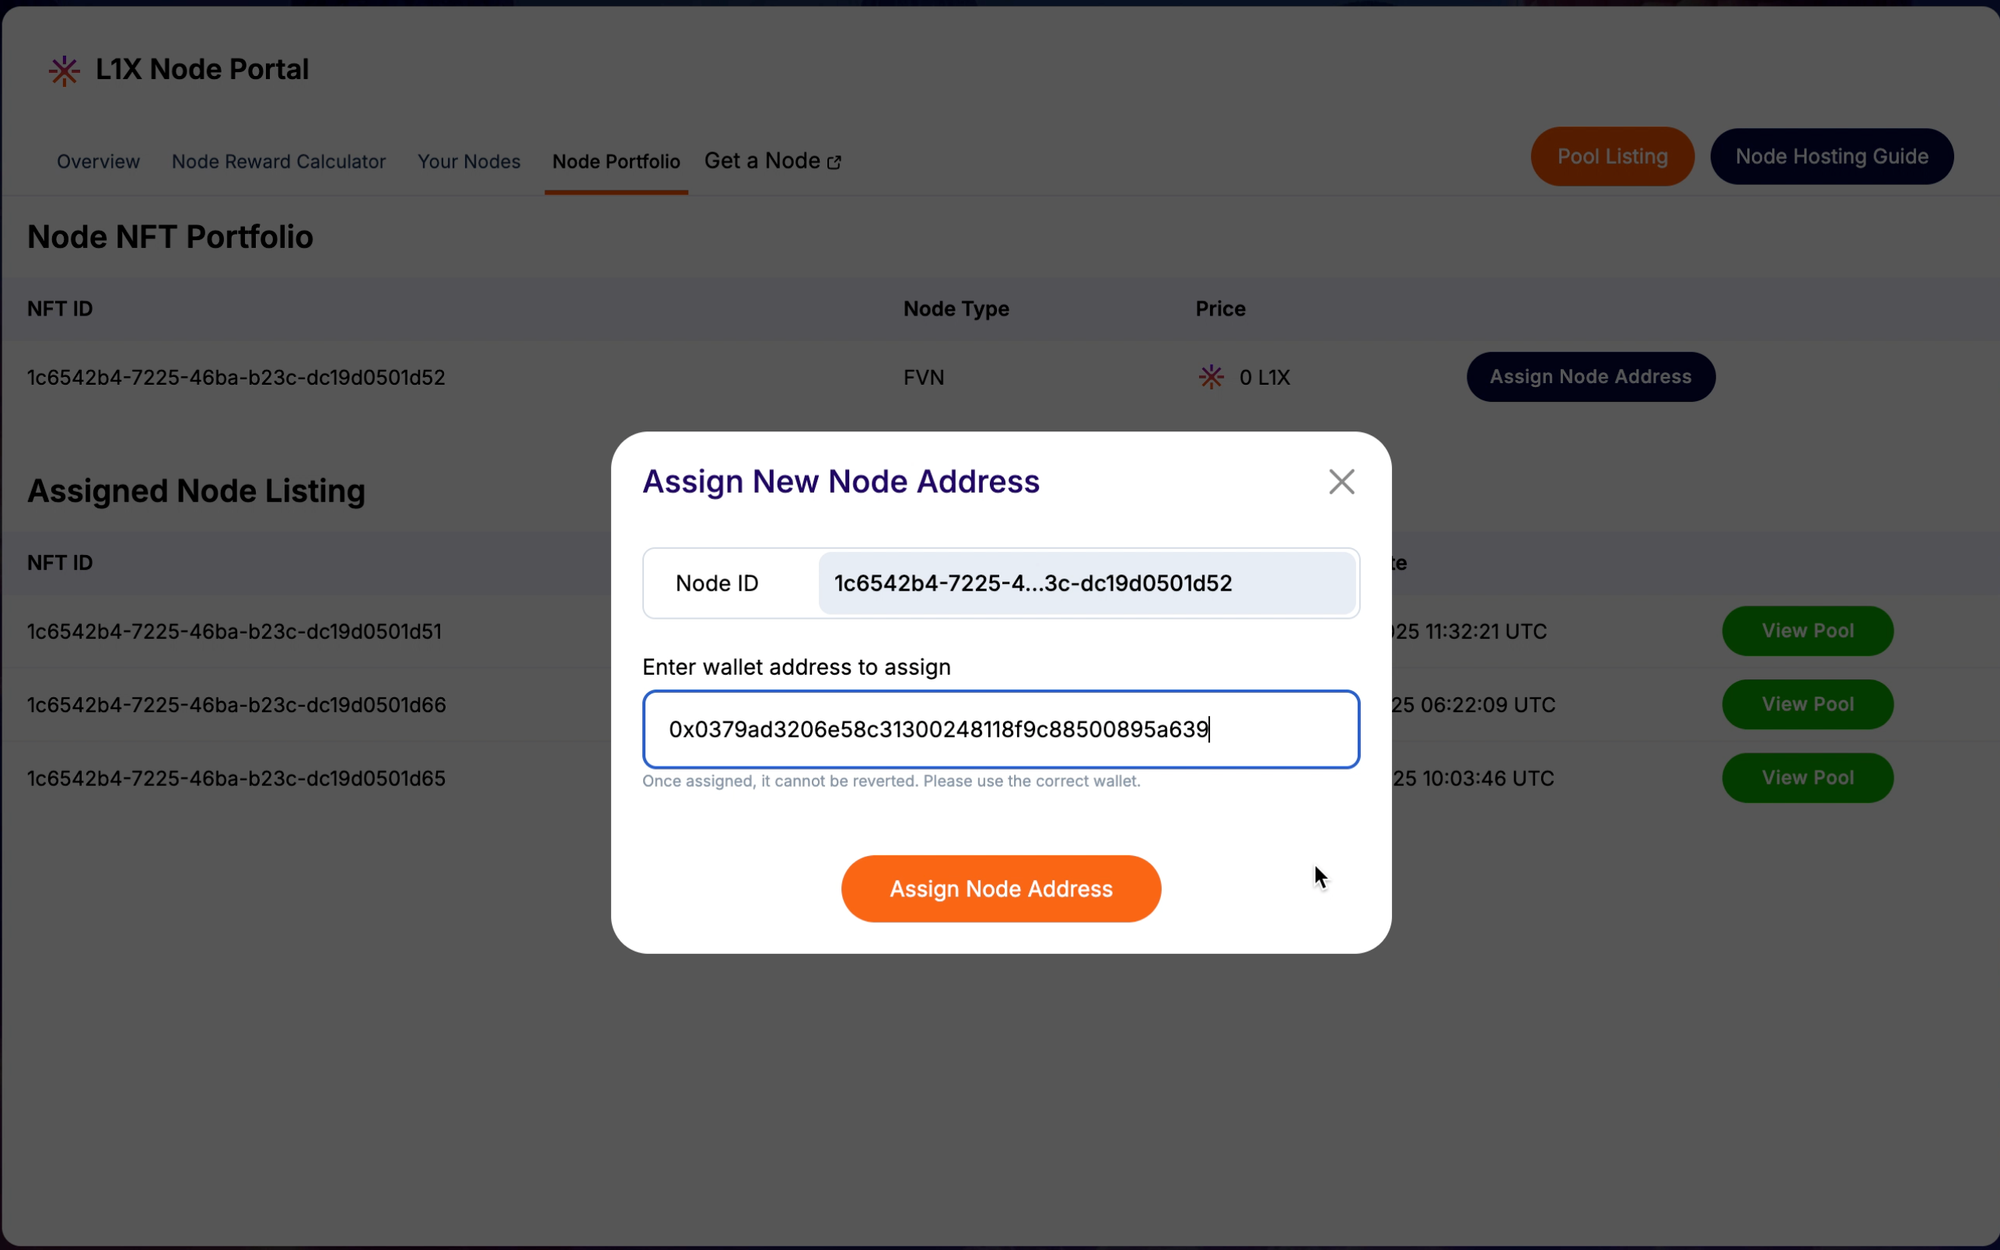
Note: The wallet address entered here will be required to add the private key to host the node.
Click Assign Node Address, and an L1X Wallet popup will appear to sign the transaction. Once signed, your Node registration is complete.
Step 5: Connect the New Node Address
Using the newly assigned node address, connect to the Node Portfolio page. Visit Node Portfolio.
Here, you will see your Node NFT ID and an option to Create Pool.
Step 6: Create a Pool
Click on Create Pool.
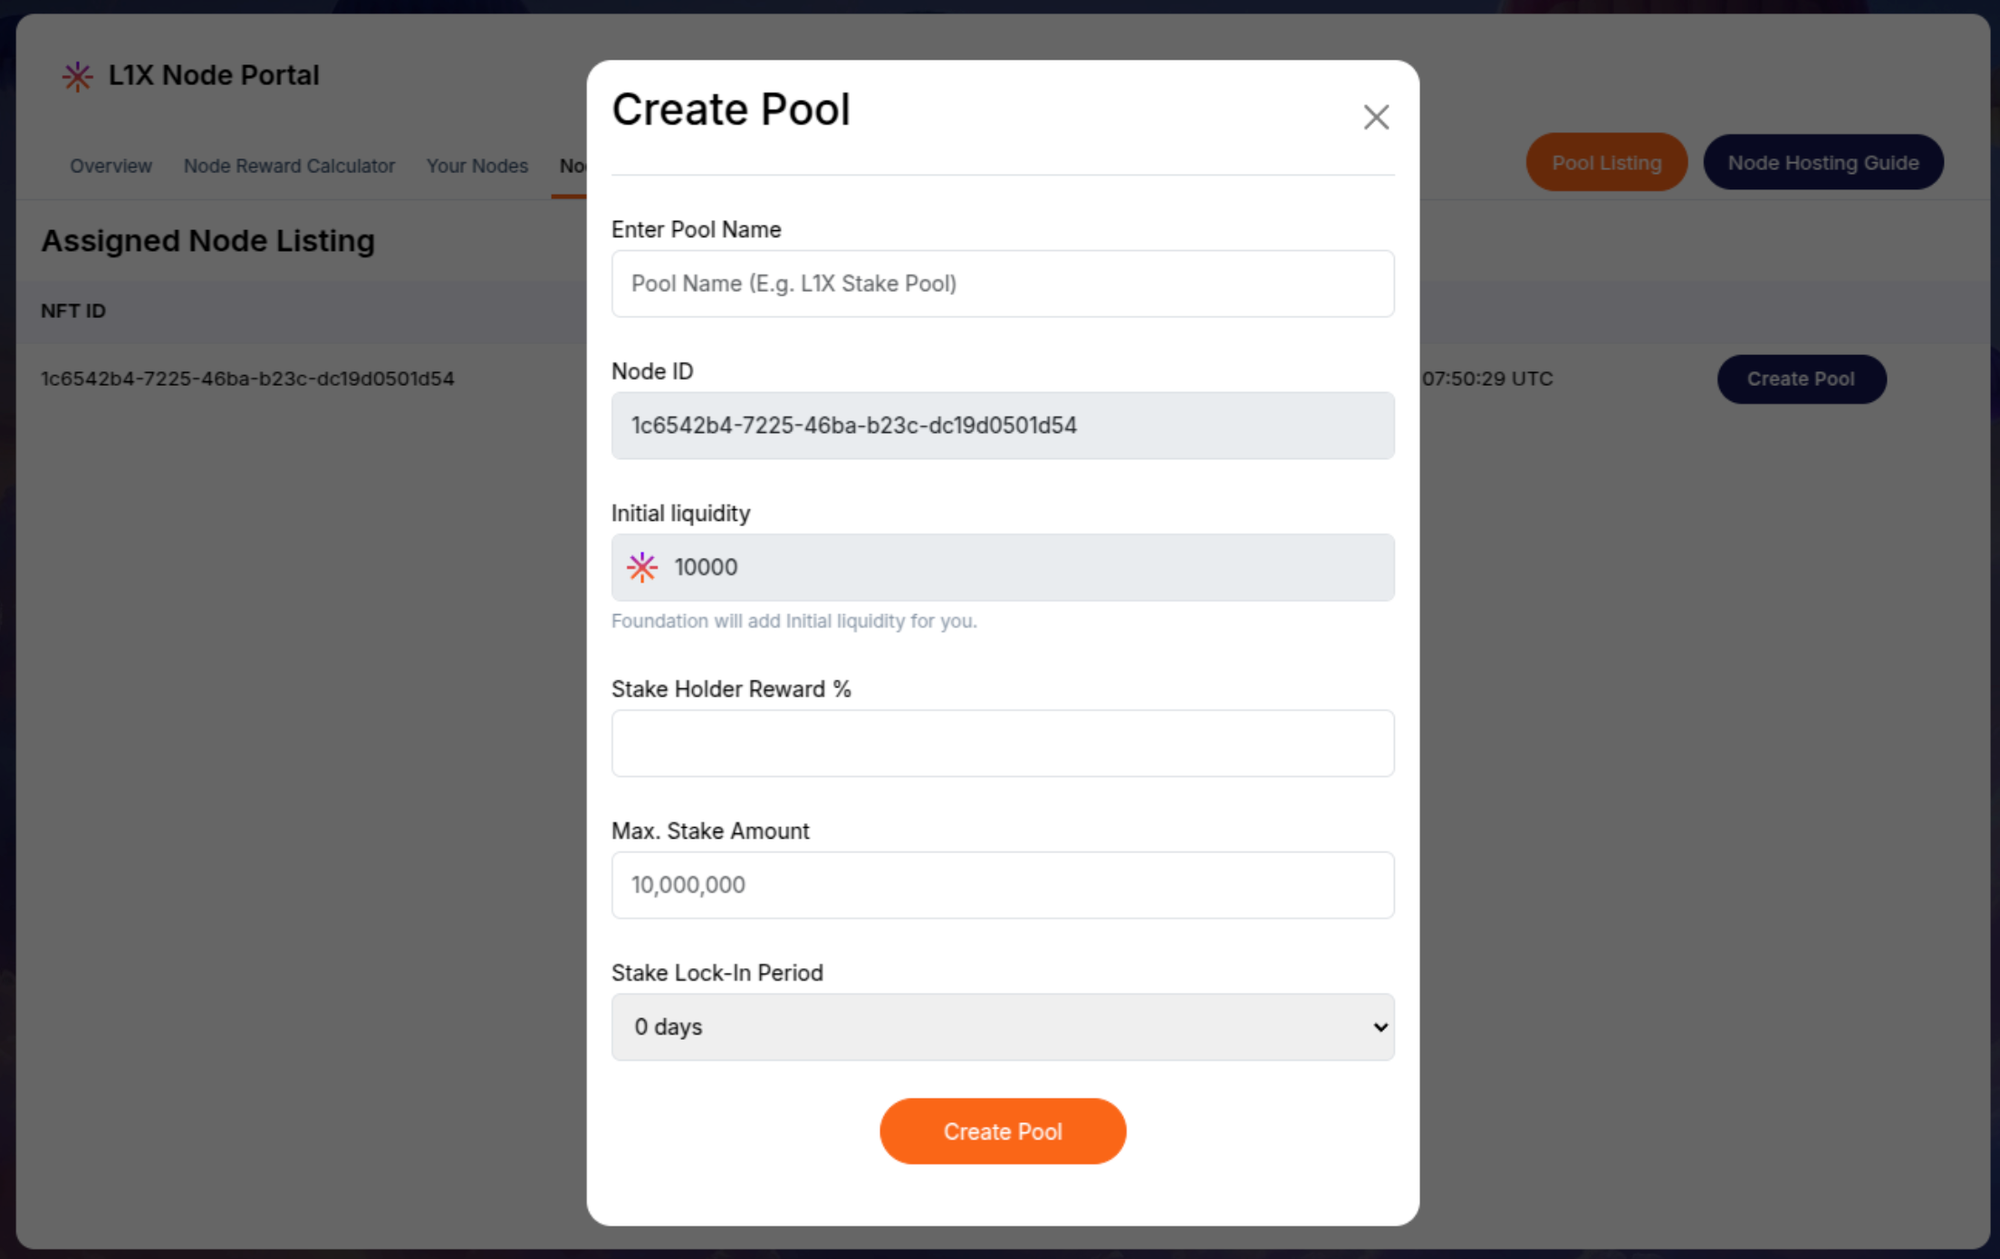
A pop-up will appear to configure your pool:
- Enter a Pool Name.
- Initial liquidity will be funded by the L1X Foundation to host your node.
- Set the Stakeholder Reward % (percentage of rewards shared among users, with the remainder going to the node host).
- Set a Maximum Stake Amount.
- Select the Lock-in Period.
- Click Create Pool and sign the transaction to complete the process.
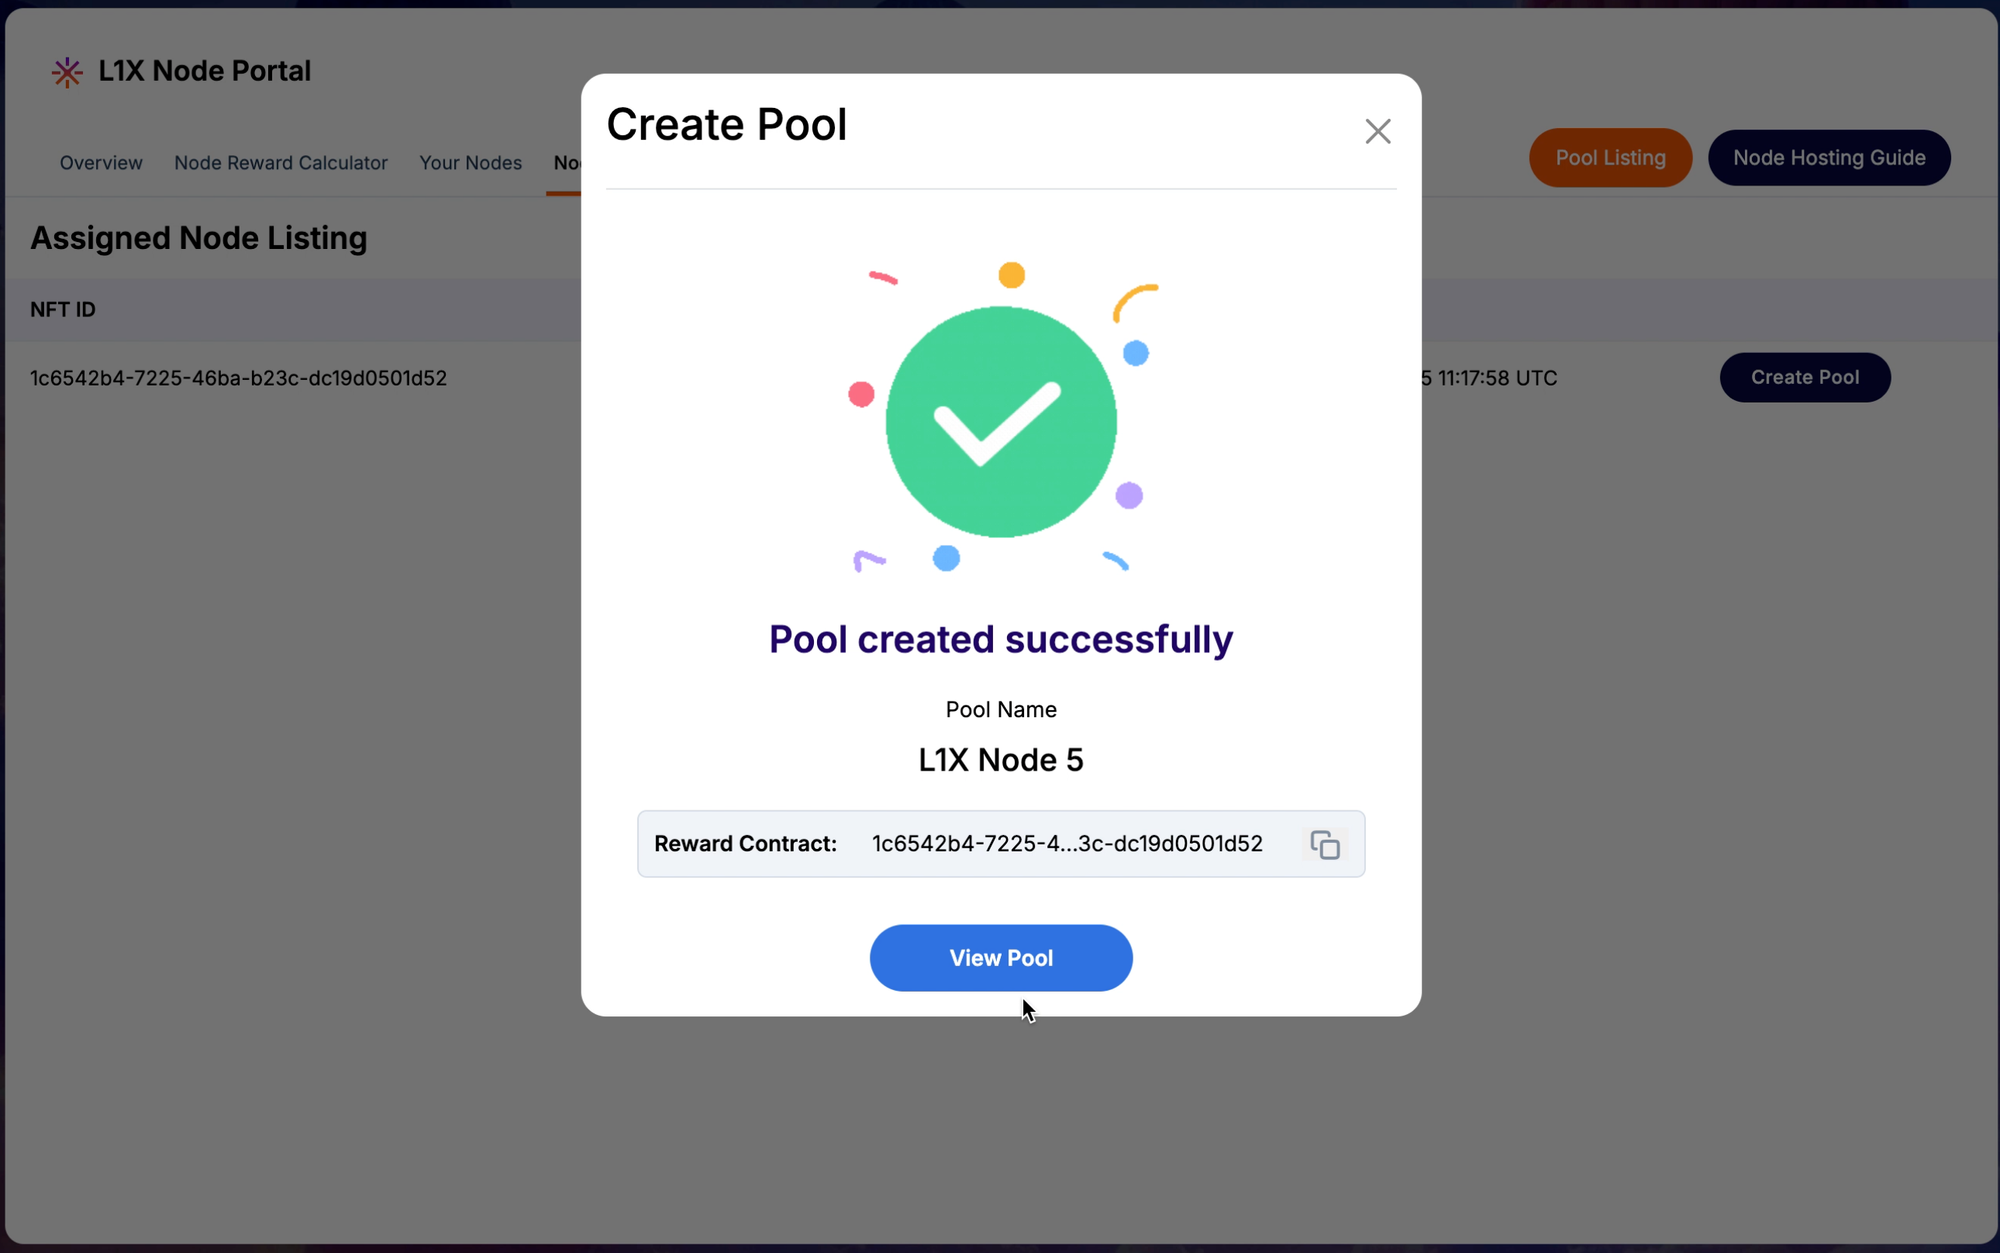
Step 7: View Pool Details
Click on View Pool.
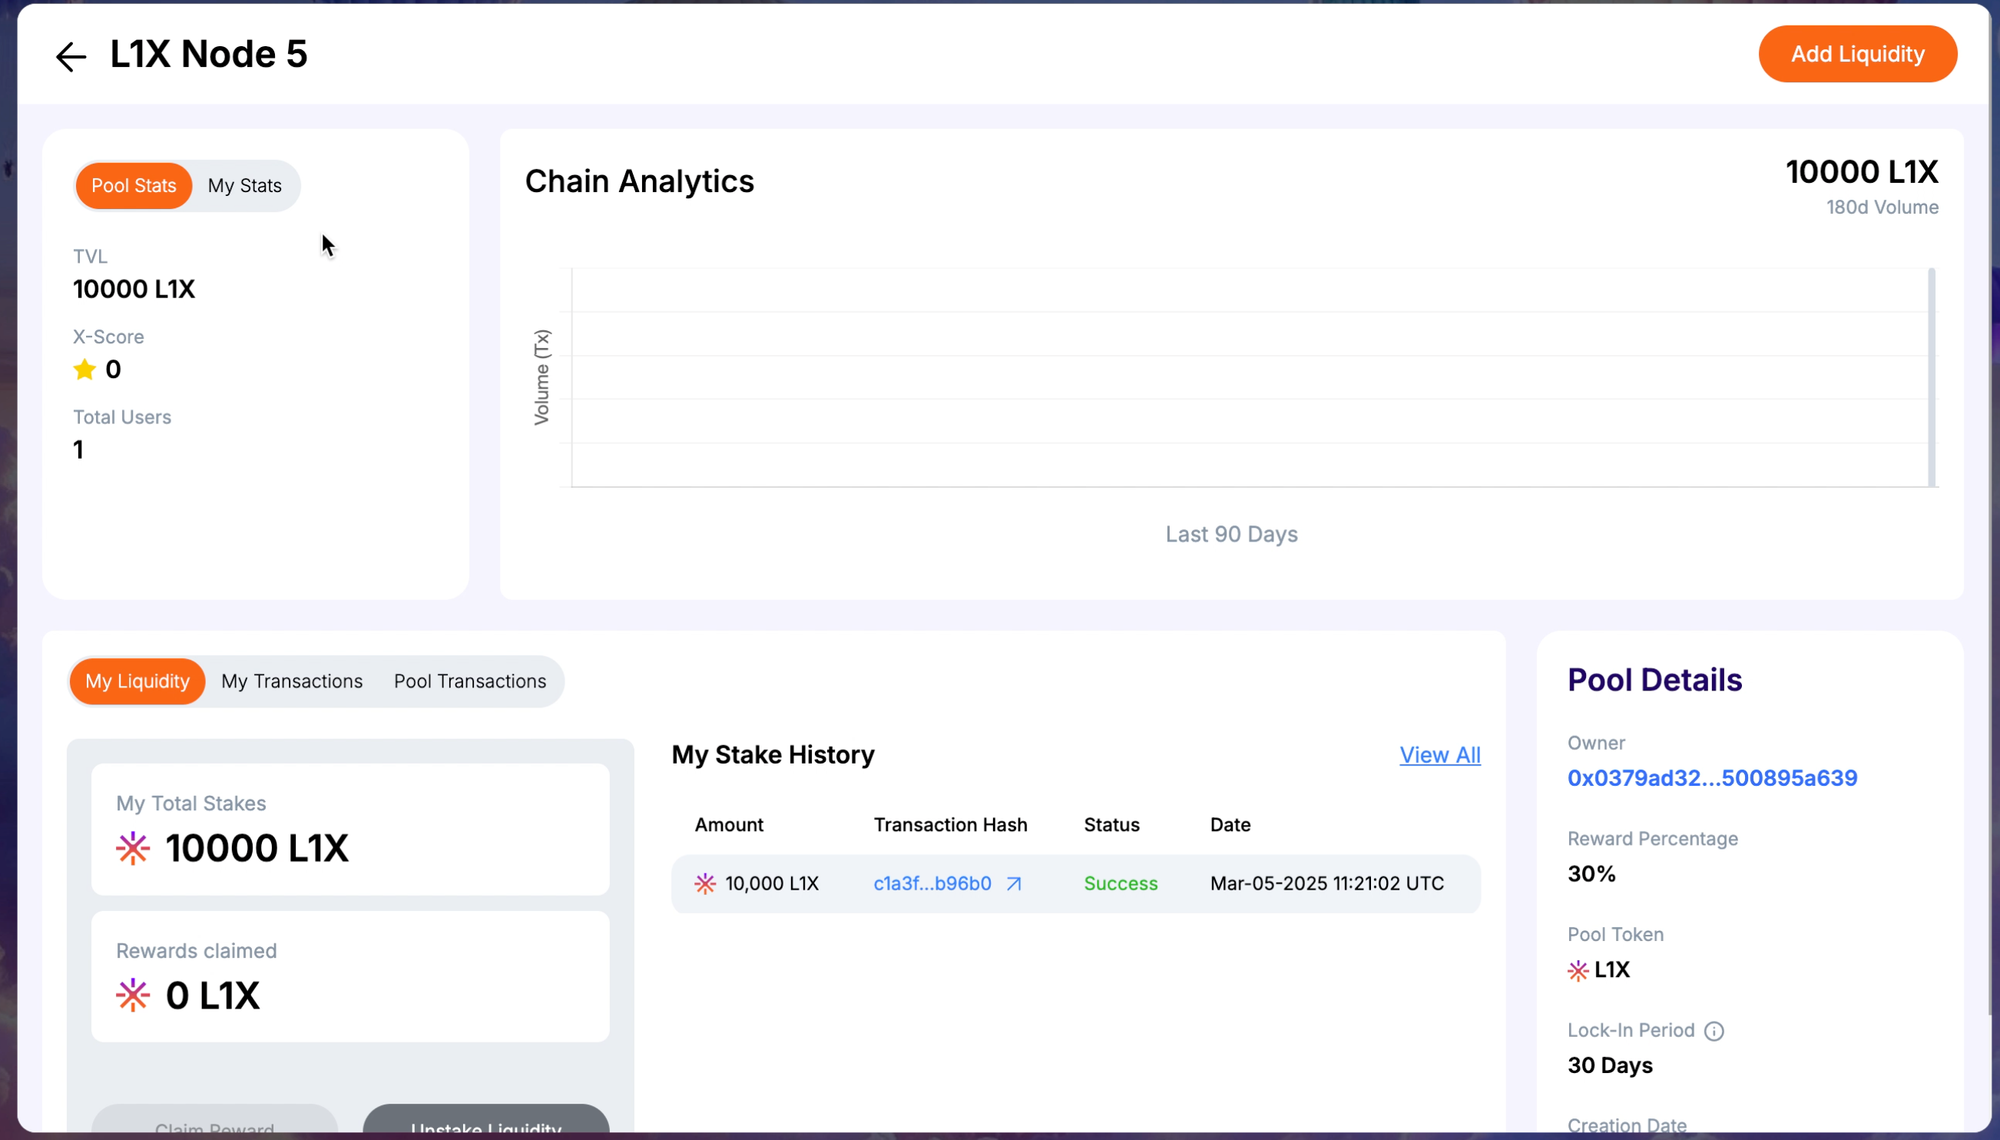
Here, you will see:
- Overall Pool Stats
- Transactions of assets staked and unstaked
Step 8: Claim Your Staking Rewards
Click on the My Stats tab.
This section is tailored to the connected wallet address.
Click on the Claim button to receive your L1X coins as staking rewards for your share.
With these steps, you can now successfully stake directly into an L1X Node and earn rewards while contributing to the network. Happy staking!